A chronicle of the meanderings, false starts (which in retrospect, while sort of embarrassing turned out to be highly instructive), epiphanies, selective apathy (still evolving), wild mood swings, opinions (subject to frequent change), and life lessons of an inveterate dabbler (and her latest dabblings).
Showing posts with label leather. Show all posts

Sunday, August 19, 2012

Verdigris Leaf Medallion

Verdigris Medallion
I've had a strand of these Ghanaian brass leaf medallions from Happy Mango Beads forever. I've used them here and there in their natural finish. When I started using patina solutions, it occurred to me to try some of them on these medallions. They took the patina beautifully--every color I've tried, the medallions just soaked it up and looked great. I used a traditional verdigris solution on this from Miss Fickle Media, and sealed it with Vintaj Glaze and a layer of Renaissance Wax. It's very durable.


I combined it with round 2mm leather cording in antique brown from Leather Cord USA, little African jade roundels, recycled glass barrels in sea green (also from Happy Mango Beads), a Czech glass wheel in blue-green, and one of my round coin-impressed charms.

I have two more of these medallions in this color that I am working into a lariat-style necklace. I hope to have that done in the next few days!

Sunday, July 1, 2012

Empire Lariat, and a Little Flash Gordon

Empire Lariat
I've wanted to make a lariat style necklace forever--Lorelei Eurto and Erin Siegel's new book, Bohemian Inspired Jewelry, finally tipped me over the edge on it! I had created these two double-sided mixed metal medallions from 26 and 24 gauge brass and copper sheet (textured with British coins from my own collection and from Joel's Coins--a halfpenny, a one shilling coin and a two shilling coin), and thought I might use them in a lariat one day. This piece is sort of a melding of Erin's "Afternoon  Tea" piece and Lorelei's "Flirtation Lariat" from their book. With the British theme on the medallions I felt like I should keep colors subdued and more classic looking--I'd love to do another medallion lariat with a more southwest look (I sort of have a half formed idea for one but I don't know if it will work).


I used a pair of my copper ribbon/leather ends riveted with copper tacks from Melinda Orr, some of my textured connector rings, brass bands that I textured with other coins, and some of my brass beadcaps and copper ball headpins. I hung little cascades of Czech glass beads (the multicolor Picasso ones are from CraftAnne--LOVE them!!) from short lengths of brass oval chain from LimaBeads. Because these are not real coins, and I used fairly lightweight sheet, they're not very heavy. You really can't have that much weight on a lariat or it will kind of strangle you--haha!


This will fit a 13"-15" neck (more choker length on a 15" neck).

(Here's the other side of the medallions)

I also did these last week, but it took me a while to photograph them. I like the old-timey futuristic look (like Flash Gordon! purely unintentional). I'm totally getting into mixed metals!!
Jet Set
These are with sterling silver earwires and wrapped cross-bar, copper, and silver-plated petal beadcaps from Ornamentea. Silver foil Czech glass beads in fuchsia from FusionBeads.


I had plans to make a few other things this weekend but as usual all this took way longer than I thought it would. But I did get a fabulous morning bike ride in with the BF so it's all good.

Wednesday, June 6, 2012

March of the Bails (Gawd, Will it Never End?)

Sigh. More pendant bails. This is the downside of experimentation--you kluge it as you go and you can never get it together all at the same time. I never quite know where I'm going with anything, and I change my mind a gazillion times. I imagine that's the way it is with most of us creative types! ("I like to let the jewelry make itself. But when I come back after cocktail hour, it isn't done yet and I end up having to make it myself.")

This one finally came together over the weekend.
Cherry Bomb
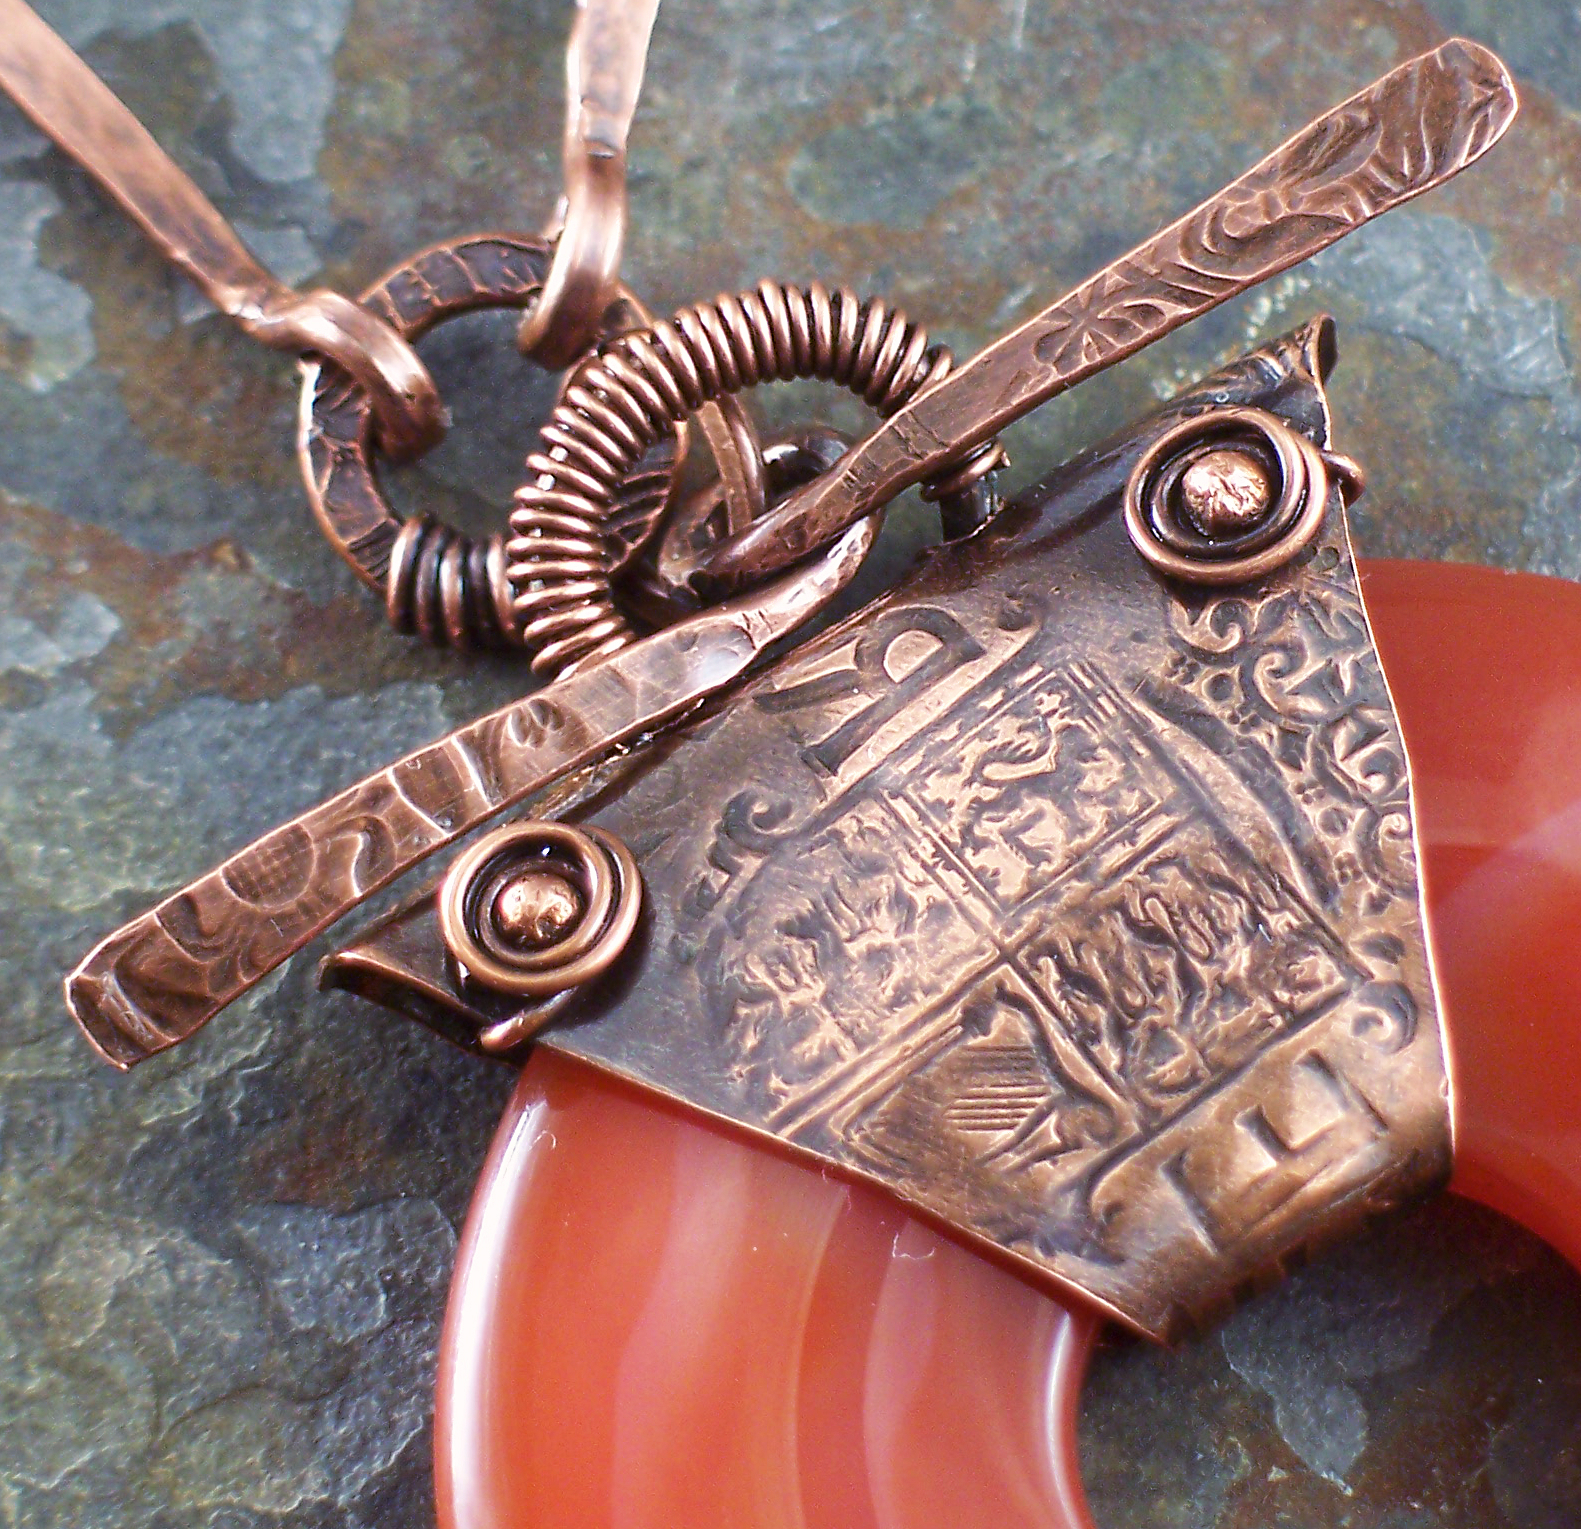
For months I would take this rather wildly hued impression jasper pendant out, fiddle with it, work up some goofy bail, take it apart because it was lame, and put it away again. Rinse and repeat! Finally I hit on something I actually liked, and then started sort of adding to it, tweaking this, tweaking that. Took me a whole day (off and on) to decide how to hang it. Chain? Leather? Ribbon? What color? Berry or brown? Other? I had a sneaking suspicion more sections of wrapped copper were the answer but I didn't want to make them (hammering, bending, wrapping, antiquing, tumbling, sealing...bah!) Eventually my compulsivity won out and that's what I did. And of course I couldn't resist adding a few gewgaws (the little fuchsia pearls) to the textured washers (I used a South African coin with a nice crest design to texture the washers).

This is what it's like on:

This one below sat around forever (like since mid-April) with just the main portion on it. I textured it with one of my favorite coins--a 1959 British half crown.

I didn't like the hanging tube I had on it (it was kind of crooked) so I took the tube off and messed with the loop, and kept messing with it until it was functional. Unfortunately by the time it became functional, it was no longer presentable...so I wrapped it with wire (is it ugly? wrap it!!!). I added a couple headpin rosettes because it seemed a little blah the way it was. I also toyed with the idea of making it part of a toggle clasp but I really wanted the length to be easier to adjust. The toggle bar idea stayed with me though....what about a permanent toggle bar, I thought? A big ass one that won't come out, that will just be part of the bail. The idea was kind of exciting so I made one and put it on there, and it seemed to echo the Asian sensibility of the rest of the metal so I built on that. It reminds me a little of dragonfly wings.


I recently bought a pound of coins from Joel Anderson Interesting World Coins and Paper Money (there were some really great ones in there!!) and there were a handful in there that were too worn down to use for textures, and so blackened from age and handling that you couldn't even see what kind of coin it was. So I tried treating them with verdigris patina solution from MissFickleMedia. They came out with some great colors and shading on them! (Way easier than trying to punch discs out of 16 gauge metal sheet). On a couple I decided to add some Ranger opaque patina inks too from Melinda Orr, to bump up the color saturation. I thought one of them might look nice with this red agate so I rigged up something to hang one with (plus my second ever tube rivet--the tubing from Melinda Orr is perfect for this! I didn't have my punch set from Harbor Freight yet so I used one of my tiny doming punches to flare the tube before I tapped it flat. Worked fine. In fact I probably don't even need the punch set now. Which of course arrived today).

I thought maybe a couple bars to echo the donut bail I used for the turquoise-colored coin would be cool so that came next, with some turquoise lampwork spacers by Meital.  After trying like a gazillion different things for the rest of the necklace (beads? ribbon? sari silk? this leather? that leather?) I decided on buttery soft round leather cord in a natural brown from LeatherCordUSA. I slid some of my hand-forged copper tubes on there and squeezed them a little to keep them in place. And then I just had to dangle a little carved carnelian oval off the clasp loop.
Beijing and Sedona Meet
It's really long, about 29"--this seemed right for the size and length of the focal portion.

Finally, is a rectangle of pale sea green impression jasper (I love that stone, obviously!). I had made the fold-over portion without really thinking about how it would work but I loved the way it looked on there so much I was determined to figure out a way to use it. I eventually settled on this:
Asian Rustic
For some unexplained reason I made the curved metal hanging bar enormous, and it just seemed to dwarf everything I tried to hang it on. I thought maybe a crescent-shaped piece of metal sheet would have the right proportions. (It's funny how certain design ideas come about because you screwed up some other part of the design--"Hmm, how can I make this work so I don't have to do that whole thing over again?") I originally thought of wrapping the crescent with wire and trying some patina on it but I chickened out and textured it instead with my favorite 1963 British two shilling coin and brass texture sheets. I cut a little groove in the center with my Dremel cutting disc (WOW, was that slick! definitely going to be using that again) for the loop to sit down in, and then I put a little hammered bar over the top so it wouldn't come out. I like what that little bar added! I curled the ends of the crescent over to hold some connector rings. The boyfriend said leather, and I tended to agree, so leather it was!

On my model, who has seen better days (time to repaint her):

Stay tuned for some interesting things with more beat-up old coins...

Tuesday, April 17, 2012

Using Coil Crimp Ends


Today is Part II of my post on making and using your own coil crimp ends for cording, such as leather, ribbon, and silk strings. Today we're going to talk about how to actually put the things on there and tighten them up.

As I explained in my last post, I just eyeball the cording I'm using and guess at what the inner diameter of my coil should be. I try to get it as close as possible because squeezing down an oversized coil is a huge pain.
You'll probably want to practice this with inexpensive, softer wire like copper, and leather or ribbon scraps and get the hang of it before you try it on a real live project--there is definitely a motor skill learning curve! (Trust me. There are miles of mangled wire in my wake.) You may want to practice with a thinner gauge wire, such as 18 or 20, until you get a feel for how the coil behaves when you start squeezing it tight. You may even find you like the finer wires for this project anyway, depending on your preferred style (like if you tend to make more delicate, airy pieces with finer cording). I've never actually annealed the coils (the idea just occurred to me as I was writing the last post, I should write these more often), but it seems like theoretically that could be helpful. If anyone decides to do that, let me know if it made it harder or easier to fasten them onto your cording. If you anneal, I think you definitely should hammer the loop because it might be kind of soft. And if you're using a finer gauge wire, like 18 or 20, a little gentle tapping with your chasing hammer will make that loop sturdier.

First, we'll start with a piece of leather. This is 4mm round leather cord from LeatherCordUSA. I dab some glue (PlioBond on this case, because I'm out of GS Hypo Cement--Hypo Cement is probably a better option because it's clear but the tubes seem to dry out really fast, faster than I can use them so I never have any) on the end, eyeballing it so that the gluey section is the same length as the coil, because I don't want a bunch of gluey leather protruding from the coil. (Although you can kind of scrape the PlioBond off with your fingernail, it's sort of silicone-y).
I slide the leather into the coil, all the way to the end, so I can just see the end of the leather peeking out the end--I want to make sure the leather is all the way in there, so that I have as much grabbing surface gripping the leather as possible.
I let it sit so the glue can dry a little and adhere. If you start working with it too soon, when the glue is still kind of slippery, it wont stay put while you're trying to tighten it and you'll be frustrated. So off you go to fool around on Facebook or whatever or buy some beads you don't need and come back later...

Okay, so 20 minutes or so have passed and you're now the proud owner of three more Jade Scott charms and it's time to tighten the coil on your leather. You can gently test the coil to see if your glue is dry enough. (I don't actually know if the glue helps, but I'm paranoid, so I use it because it makes me feel better.) You're going to squeeze the whole coil tight (not just the end), one course of wire at a time.

WARNING: this is just plain ol' tedious, muddle-through, poke/prod/mash/manipulate kind of crap. If anybody has a more systematic way of doing this that involves less kluging (geek speak, meaning: "A clumsy or inelegant solution to a problem."), I would love to know! I am totally making this shit up. (Lesley Watt of THEAJewellery is using these too, and they look so perfectly executed! I love the double loop she has at the end. DO SHARE, Lesley!!!). I squeeze the whole thing because I'm paranoid, like I said. (A couple of my early pieces came apart, so I'm extra aggressive now with the squeezing, and I added glue.)

I usually start squeezing at the bottom, but you could probably start anywhere. (Seriously, there is probably a neater way to do this. I mean, I walk through the puddle and then dry off my shoes, instead of going around the puddle. I instinctively choose the most inefficient, labor intensive method for virtually anything I do which I why I will always be poor.)

So let's squeeze the bottom-most course of wire first. I like bent nose pliers best for this. And then squeeze the next one up, and then the next one.
See how it's starting to turn your coil into the leaning Tower of Pisa? You're going to have to correct this as you squeeze. (This is where the "tedious crap" part of this technique comes in.) Just take your bent nose pliers, place them as pictured, and just squeeze the coils back into alignment.


Rinse and repeat. Ad nauseam. Until you've squeezed and straightened it all.

You might have to squeeze it together the other way at some point.

That very last coil at the bottom is the most important. That one in particular needs to grip the tightest. I like to try to get the very tip of that last coil to bite into the cording.

You might have to squeeze a little at the top where your loop is, to round up that last coil. Adjust the alignment of the loop as necessary with your pliers.

When I'm done squeezing, I pull enthusiastically on it, like an overexcited toddler, to make sure it's really in there tight. If you tug and tug and it's not going anywhere, it's probably good.

Don't be alarmed if your first try is messy. This is totally a motor skill thing, like throwing pots. Which I've never done. Which is why you want to practice with cheap wire and throw-away cording if you can. Practice on anything you want. Rope. Electrical cord (but not while it's plugged in). Red Vines.

When using silk ribbons or strings, it's very similar. I almost always use multiple strands of ribbon with this technique (if I'm only going to use one, it's easier to just loop it around a ring and secure with a coil, because bulk isn't a problem--I use the coil end mostly when bulk is going to be an issue.) Because I'm using multiple strands, it's hard to know for sure if I've got all the strands up in the coil, so to make sure every single strand is gripped tightly, after I stuff them in there, I pull them up through the coil and count the ends (four in the picture below) to make sure they're all through. (That probably makes no sense at all.) Then I back them out just a tad and it's ready for SQUEEZING. (I've never used this word so many times in one conversation.)

I can trim them off later with tiny scissors or even buzz cut them with my electric bead reamer (yes, more kluging.) Let's jump to the end of this one, all tightened up, and look at that:

I haven't used glue with the ribbons, because it's too hard to get it applied where it needs to be, but you could if you wanted to. (Erin Prais-Hintz suggested putting the little GS Hypo Cement needle right up in there, inside the cluster of ribbon--That sounds perfect!)

And then lastly, again, enthusiastic tugging (I like to try each strand individually, to make sure they're all tightly gripped in there:)

All good.

I am particularly fond of little nail scissors for trimming things like this. They're surprisingly effective. You can get them in the manicure section at Target or Walgreens or wherever. These are ancient but they're still sharp.

With all the manipulation, my coils end up with a lot of tool marks on them (you can see that in the very first photo at the top). I prefer to think of them as "textured." If you wanted to, you could even add some more "tool marks" with a texturing hammer and make them really special.

Happy squeezing!!

Monday, April 16, 2012

Make Your Own Coil Crimp Ends

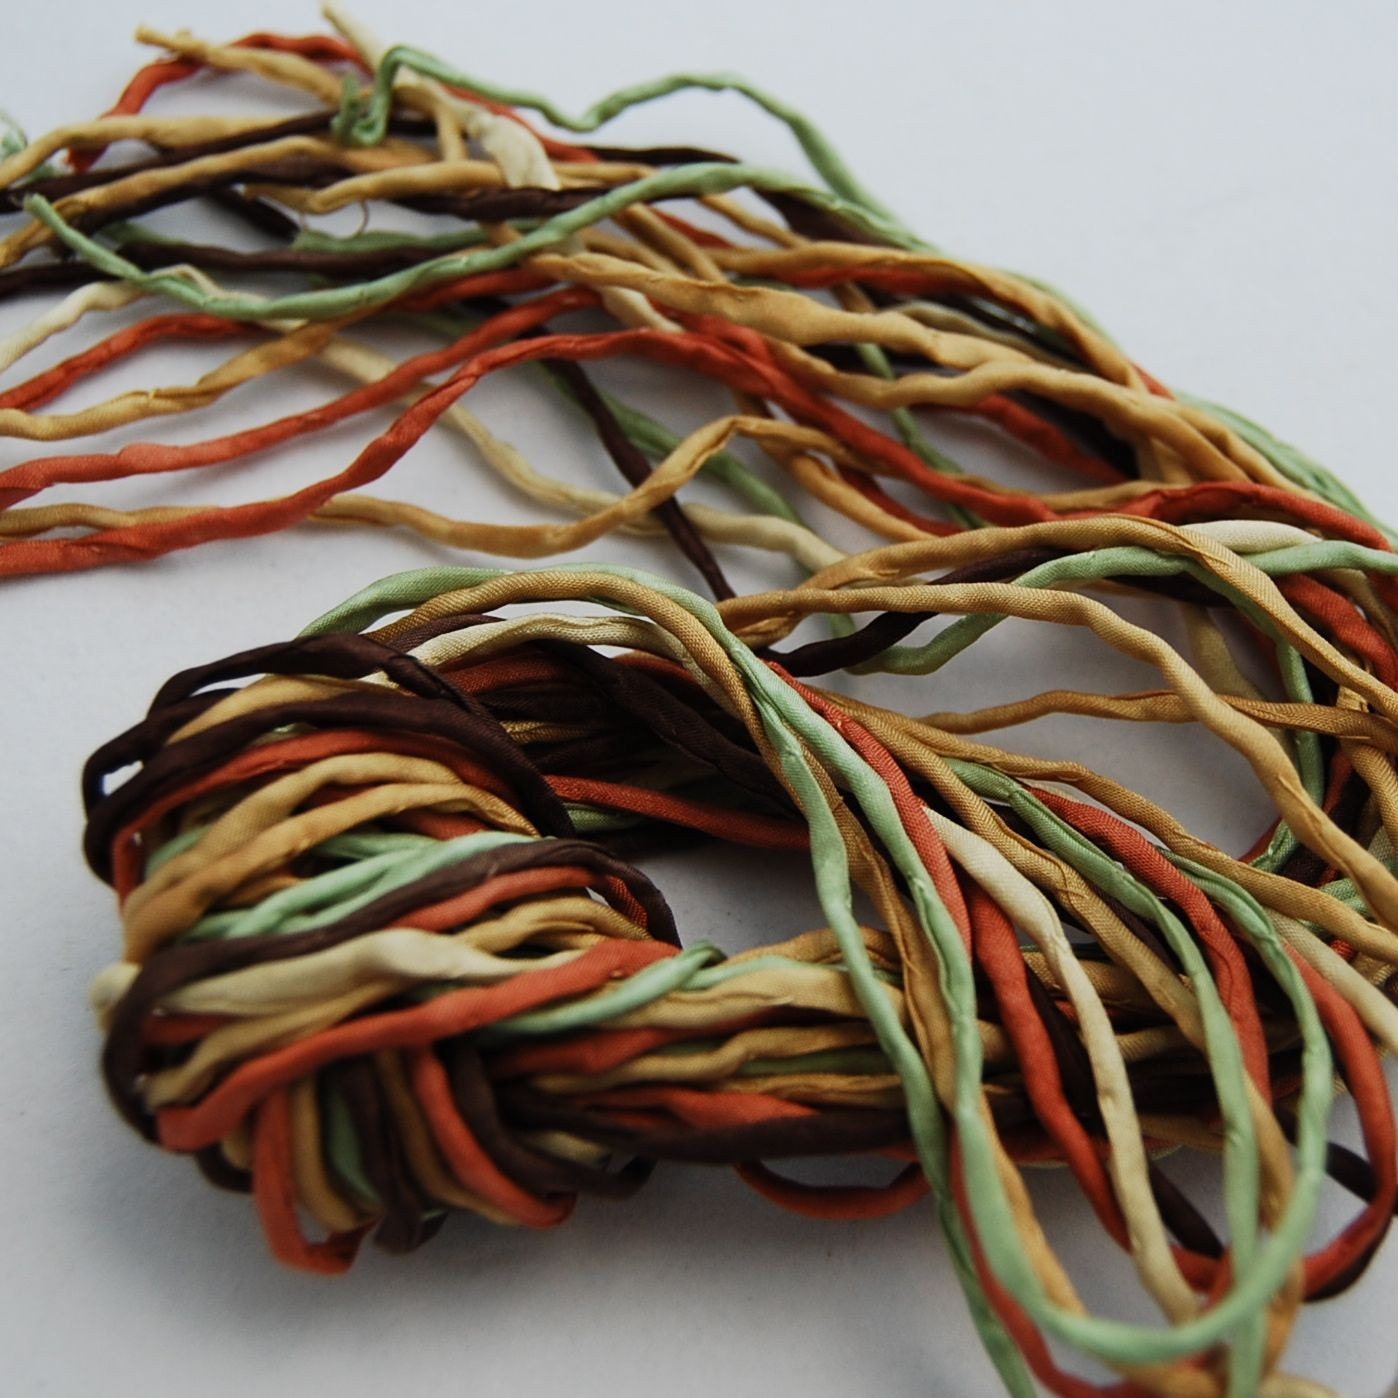
"Woodland Realm" Silk String Bundle from Marsha Neal Studio 
Ribbon and leather cording is all the rage, and many of you are probably contemplating adding it to your jewelry repertoire. Finishing off the ends can be a bit of a head-scratcher when you first start out though, especially if you haven't had time to explore all the products and techniques available for attaching your cording sections to the rest of your piece.

The first piece I ever sold on Etsy had 2mm Greek leather on it, and I faked up some coil ends on it--I had bought some simple, cheapie ones at the craft store and was trying to copy them. The only think I could think to do was wrap the wire around the ends of the leather and make a loop at the end, but it was really frustrating because the leather was kind of floppy.
Ca. March 2005
It was so frustrating in fact, that I didn't use leather in my designs again for a couple years.

Later I discovered commercial crimp ends for sale, and used those on a few pieces.
From Cool Tools PMC supply
They look really nice, and come in different finishes, but in my experience they have a tendency to break. The center section on some styles actually breaks away from the end sections when it's crimped, and this can give way under too much wear, like with a bracelet that gets tugged and twisted a lot when you're trying to put it on or take it off. (I actually had to repair a bracelet where the crimp end broke--I redid it with a different technique.) Could be I squeezed it too much; it's hard to tell how tightly to crimp it. I don't think there are the same issues using these findings with a necklace though, because they don't get the same wear and tear, and I've used them with necklaces without any reported problems so far.

With silver plated pewter crimp ends from Fusion Beads
I still really wanted to use leather in my bracelets, without having to fold it over a ring or something (because that can be kind of bulky, especially with Greek leather), but I needed something sturdy. It eventually occurred to me (probably in the shower) that I should make the coil and loop BEFORE attaching it to the cording, and THEN slide it onto the leather and tighten it, instead of trying to wrap the wire around the cording. (I have no doubt thousands of jewelry makers have been doing this forever, and I could have learned this from one of them, but perversely self-sufficient freak that I am, I had to take two years to figure it out myself.) So I gave it a shot and it worked fine. This is how I eventually ended up making them--these are in a few different sizes:

They look like this when they're attached and tightened up:


I like to use 16 gauge wire, as I prefer a chunky, substantial look (and I'm a little paranoid about things coming apart--I also add some adhesive, like GS Hypo Cement or PlioBond--Hypo Cement is clear so probably a little easier to use, PlioBond is more amber colored), and this gauge seems to work for most of what I do. The 16 gauge is not so heavy that it's hard to work with, and I can get the coils down to about 4mm inner diameter, which is the lower limit for most of what I do. If you wanted to do something with just, say, one strand of 2mm Greek leather, you could go down to 18 gauge and get a smaller coil that would still be sturdy enough. (You can always anneal too, if your hands are worn out and need a little extra help--some days the elbow grease just isn't there!)

For a 5mm (inner diameter) coil, I use the base of my round nose pliers.

Leaving the wire on the spool (you won't cut it until you're totally done), make a coil with three or four courses around. When you actually tighten it up around your cording the whole thing is going to get skinnier and longer and you'll end up with a couple extra courses around. (The longer the finished coil is, the greater the surface area you will have grabbing onto your cording and the more secure it will be.)

When you've got your coil completed, you'll need to bend the free end of the wire up to create the loop. I pull up on the free end a bit to create some space for me to slip my bent nose pliers in there:

Then I slide the tip of my bent nose pliers under there, and bend it straight up.

You can use the pliers as necessary to sharpen the bend a bit. (Again, anneal if you need to--the process of tightening it later will work harden it plenty so it won't open up on you.) Squeeze it together a bit again.

After you have your 90 degree angle, it's time to make your loop. I just pop my round nose pliers under there again, near the base, and just bend the wire right over the top.


Nip it off with your flush cutters just about even with the top rim.

Tuck the end just inside the edge of the coil, and hammer it a bit to strengthen it and give it a finished look. (Hammering is optional, I just like to hammer things.)


You might have to trim your loop a bit after hammering it, because that tends to make it a little longer. Once you have a feel for that you can trim it a little shorter right off the bat, so that hammering it will make it just the right length.

Make sure the loop goes straight over the top, transecting the coil right across the middle. Adjust as necessary with your pliers.

Of course, you can make these any size you like. I just eyeball the cording I'm using and guesstimate what inner diameter I need. It's totally fudge-able because you're going to squeeze it down tight anyway. That said, it's nice to get it as close to the right diameter as possible, because squeezing an oversized coil down is a pain in the butt. You can do it, but it's a lot more work, and of course the more you squeeze it, the tougher the wire gets and once your cording is in there you can't re-anneal.

Next time, we'll talk about actually putting it on your cording.