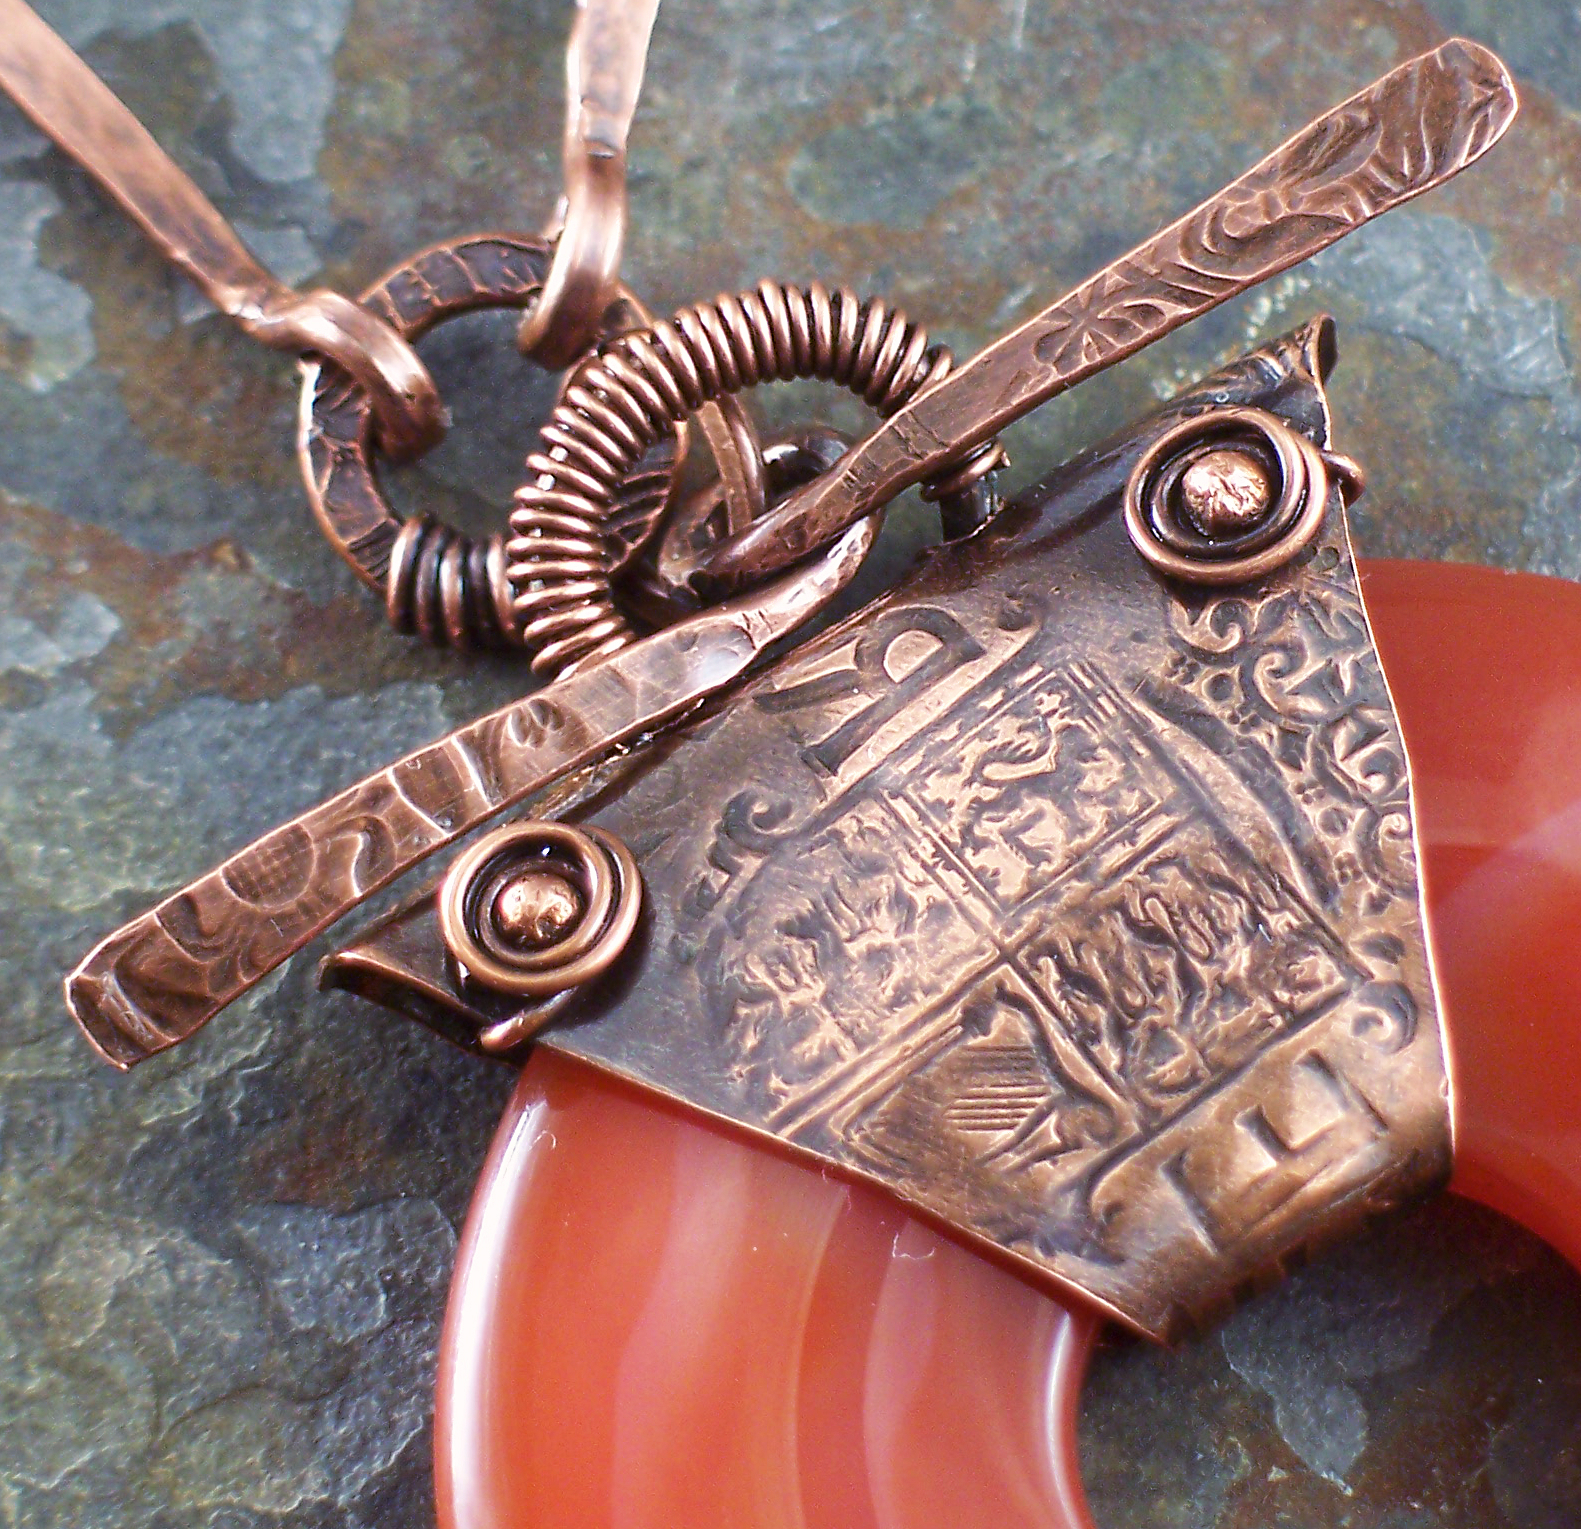
This one finally came together over the weekend.
 |
| Cherry Bomb |
This is what it's like on:
This one below sat around forever (like since mid-April) with just the main portion on it. I textured it with one of my favorite coins--a 1959 British half crown.
I didn't like the hanging tube I had on it (it was kind of crooked) so I took the tube off and messed with the loop, and kept messing with it until it was functional. Unfortunately by the time it became functional, it was no longer presentable...so I wrapped it with wire (is it ugly? wrap it!!!). I added a couple headpin rosettes because it seemed a little blah the way it was. I also toyed with the idea of making it part of a toggle clasp but I really wanted the length to be easier to adjust. The toggle bar idea stayed with me though....what about a permanent toggle bar, I thought? A big ass one that won't come out, that will just be part of the bail. The idea was kind of exciting so I made one and put it on there, and it seemed to echo the Asian sensibility of the rest of the metal so I built on that. It reminds me a little of dragonfly wings.
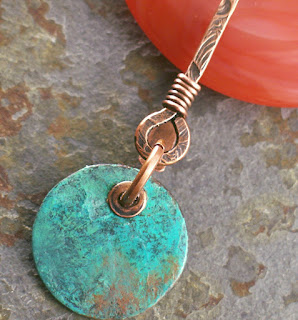
I recently bought a pound of coins from Joel Anderson Interesting World Coins and Paper Money (there were some really great ones in there!!) and there were a handful in there that were too worn down to use for textures, and so blackened from age and handling that you couldn't even see what kind of coin it was. So I tried treating them with verdigris patina solution from MissFickleMedia. They came out with some great colors and shading on them! (Way easier than trying to punch discs out of 16 gauge metal sheet). On a couple I decided to add some Ranger opaque patina inks too from Melinda Orr, to bump up the color saturation. I thought one of them might look nice with this red agate so I rigged up something to hang one with (plus my second ever tube rivet--the tubing from Melinda Orr is perfect for this! I didn't have my punch set from Harbor Freight yet so I used one of my tiny doming punches to flare the tube before I tapped it flat. Worked fine. In fact I probably don't even need the punch set now. Which of course arrived today).
I thought maybe a couple bars to echo the donut bail I used for the turquoise-colored coin would be cool so that came next, with some turquoise lampwork spacers by Meital. After trying like a gazillion different things for the rest of the necklace (beads? ribbon? sari silk? this leather? that leather?) I decided on buttery soft round leather cord in a natural brown from LeatherCordUSA. I slid some of my hand-forged copper tubes on there and squeezed them a little to keep them in place. And then I just had to dangle a little carved carnelian oval off the clasp loop.
 |
| Beijing and Sedona Meet |
Finally, is a rectangle of pale sea green impression jasper (I love that stone, obviously!). I had made the fold-over portion without really thinking about how it would work but I loved the way it looked on there so much I was determined to figure out a way to use it. I eventually settled on this:
 |
| Asian Rustic |
On my model, who has seen better days (time to repaint her):
Stay tuned for some interesting things with more beat-up old coins...


Dang girl, you're a bail/necklace machine!! Hard to choose a fav they are all so cool, I'm leaning toward the last one!
ReplyDeleteGorgeous dahling! Every one!
ReplyDeleteI love your metal work. I sit and examine it and wonder if I can figure out how to do it and then I remember, I'm still trying to work up the nerve to actually DO something with metal!!! You make it look and sound so easy and I'm such a chicken but I still want to rush right home and try it out after seeing what you've done (altho' I, personally, would love to see reverse side shots... but that's cheating ;) eh? eh? LOL)
ReplyDeleteI love the direction your new bails have taken. They are so unique and very pretty!
ReplyDeleteOMG these are all so gorgeous. Amazing!
ReplyDeleteI have to tell you I am sitting here laughing in absolute agreement... kluge, mistake, rip it apart, try again... I am surprised when I can make anything in less than three tries. Now, if I can just convince myself that it is okay that once it is to my standards it is okay to make a second version.
ReplyDeleteYour pieces turned out beautiful. I love the coral doughnut with the turquoise stone. What a great color combo and the metal details are just right.
I think this is your tribal phase. Gorgeous work!
ReplyDeleteKluge is such a good word for what happens in the creative process. But I gotta say that absolutely none of these pieces turned out looking like mismatched parts. Far from it. Even without your description of your creative process I would have looked at each of these and seen a beautiful 'whole.'
ReplyDeleteFor various personal reasons, I haven't been my usual self in commenting or sadly, even reading blogs over the last few weeks. This post of yours leaves me feeling so inspired that I have book marked it so that I can come back to it. Beautiful work with a truly heart felt description of the process that touches me and leaves me ready to return to my own studio and something that feels a bit more like normal. I thank you for that.
incredible creations, all beautiful, but the first is outstanding.....!!!
ReplyDeleteS-T-U-N-N-I-N-G!! Your work is amazing!!
ReplyDeleteAll I can say is WOW.
ReplyDeleteI think you have out kluged yourself. These are fantastic designs. Thanks for sharing.
ReplyDeleteHoly smokes, Batman! These are all so incredible that I don't even have a favorite. The way you can figure out the construction to make such works of art is amazing.
ReplyDeleteWow!! Amazing!!! The first one is my favourite, really stunning!!
ReplyDeleteI am a total novice at texturing with the coins and I'm wondering if you have tips for avoiding the ridge of the coin edge and getting a nice texture distribution? Your pieces are so rich!!!
ReplyDeleteThank you! Well, for example with the last piece, the center portion of the crescent was done with a two shilling coin--I was just careful not to hammer near the edges of the coin. I tried to keep my hammer in the middle of the coin. A smaller hammer head helps for this kind of more targeted hammering. I textured the rest of the piece with a brass texture sheet--I overlapped the textures at the edges just a bit to blend them. You could try putting some painter's tape around the edges of your coin and see if that helps keep the coin edge impression a little more vague.
Deletethanks for your generosity in sharing your process, your techniques, and your wonderful work - and in a humorous voice! The big stamped crescent in the last piece would be incredible all on its own!
ReplyDeleteThese are all gorgeous, masterpieces each and every one of them!
ReplyDeleteThese are all such lovely pieces, and your photographs are wonderful!
ReplyDeleteIt's fantastic! I'd never have thought to use the fuschia jasper with the orangey brown of copper, but it looks sophisticated.
ReplyDeleteI've been so out of the loop for months with so much going on that I haven't been able to visit blogs like I used to and am catching up on yours -- and I'm so sad I missed that top necklace. Gorgeous!
ReplyDeleteLune, may I suggest you add "Designed by Lune ____". I wanted to write about your designs; however, couldn't figure out who you were or how to reach you.
ReplyDeleteYou have a good eye for design. Thank you for sharing.
Thanks for the compliment. Links to my Etsy shop and Facebook page are on the right side bar of this blog. You can easily find my name, and more information about me, at those links. If you click on the "About Me" icon, also on the right sidebar, you will find a link to my email.
Delete