A chronicle of the meanderings, false starts (which in retrospect, while sort of embarrassing turned out to be highly instructive), epiphanies, selective apathy (still evolving), wild mood swings, opinions (subject to frequent change), and life lessons of an inveterate dabbler (and her latest dabblings).
Showing posts with label pendants. Show all posts

Thursday, January 1, 2015

Some New Pendants

Well, I was having a hard time getting the lid to close on my "artisan ceramics" and "pendants" containers, so I decided I'd better get busy. I had been thinking of this pendant for a long time-- a graceful rectangular polymer clay pendant by Erin Prais-Hintz of Tesori Trovati, from her "Forest Finery" series called "Simply Oak":
I wanted to match the gunmetal color on the pendant frame, so I fished out some pewter-colored buttons I've had in my stash forever, and knotted them together with dark brown waxed linen cording.
(Sold)
Miraculously I had glass seed beads from Fusion Beads in a matte, metallic denim color that EXACTLY matched the subtly varying blues in the pendant, and some sweet little carnelian nuggets.
I finished it off with some no-nonsense silver-plated steel chain.

Next, I dipped into my hoard of Karen Totten ceramic components, and plucked out this little gem:

I circled it for a day, trying it with this bead and that bead, this cording and that, arranging and rearranging. I came back to it the next day, and this was what I eventually arrived at as it grew dark outside:
(Sold)
Recycled glass beads from Ghana via Happy Mango Beads; two more little glazed lozenge beads by Karen; lovely matte glass seed beads in sand hues also from Happy Mango; ceramic discs in coffee glaze from somewhere like Michael's, I don't remember; sterling silver wire and tiny sterling silver beads; waxed linen cording and leather; and a little drilled beach stone at the end, just for fun.
I started out with way more beads than I ended up with--I kept paring down, paring down, and the sterling wire and beads were a last-minute addition related to covering up some knots. I rather like the extra interest the little silver "bubbles" added here and there. I used double-ended 18 gauge fine silver headpins to fasten the leather into loops, and tossed in some of my embossed beadcaps.
I am especially fond of the nekkid sections of cording--I guess that would be "negative space," jewelry-style!

I have more Karen Totten in my container and I'm not afraid to use it. Anymore. This exotic little "Forest Fossil Ring" was next:
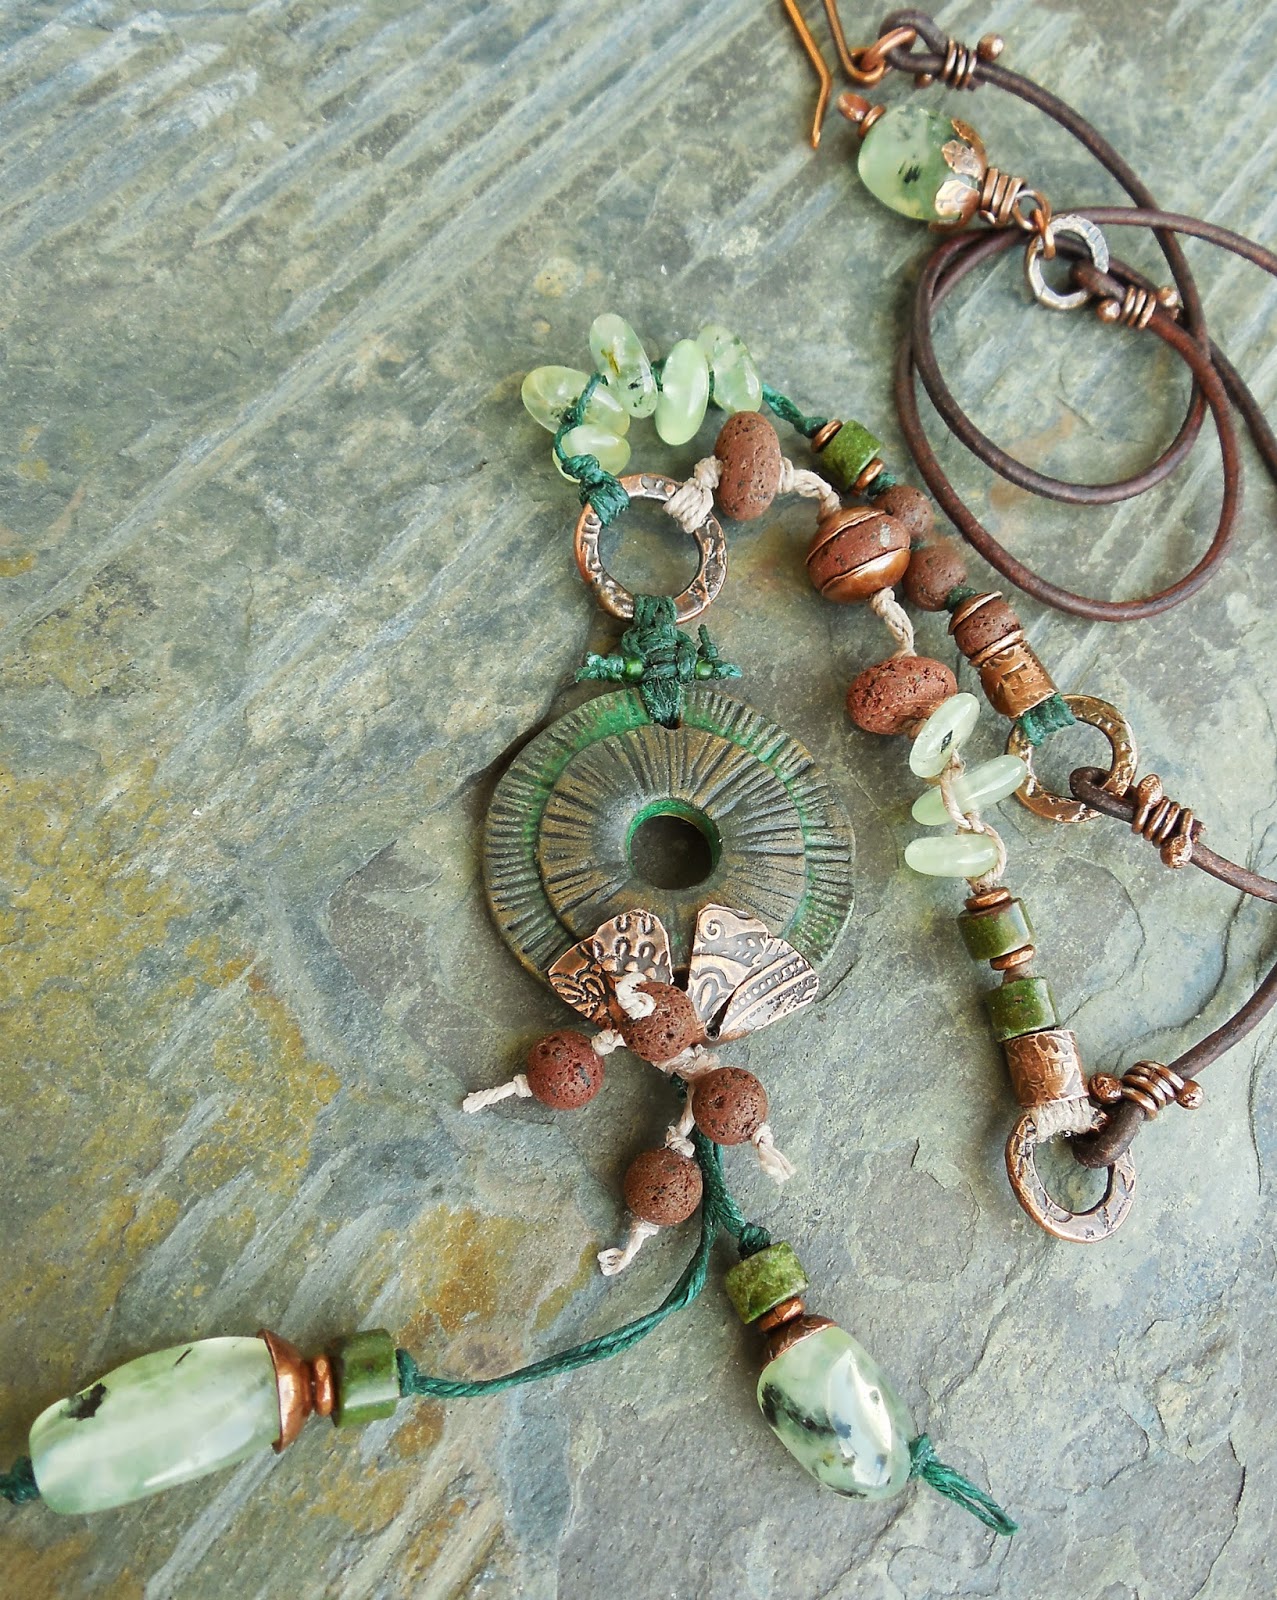
I held it in my hand for an evening, scrutinizing it under a full spectrum bulb, trying to tease out the colors. I eventually decided to combine it with both lighter and darker greens, antiqued copper, and brownish-rose colors, and follow the same basic design scheme as for the previous necklace. Here is the final product, completed on New Year's Day:
(Sold)
Stones include prehnite nuggets and irregular heishi, red lava, and dragon's blood jasper (the little green barrels). I knotted them onto Irish waxed linen cording in forest green and antique rose, and finished the back with dark reddish-brown leather cording.
I used one of my petaled beadcaps to add interest to the base of the focal, and linked everything together with my embossed copper rings.
I actually think I might be liking this one even more than the other one. I am in love with these lava beads.
I like the visual rhythm the prehnite disc beads give to it. I found these at a bead show, and also got strands of bronzite and Botswana agate in the same cut at that show. I love them. I am hatching a plan for the Botswana agate that might involve Karen Totten again. I'm on a Starry Road bender!

Saturday, November 19, 2011

Hearts and Rivets: They Go Together

I've been wanting to do some riveted heart pendants for some time. Today I got busy. I LOVE doing these hearts because I don't have to use my saw on them! I hate sawing. I cut them out entirely with my metal shears--my straight cut and my left curve shears. I cleaned up the little tooth marks from the shears with fine grit sandpaper, they came right out. Voila! No sawing. I love the sort of blocky edges I get with the shears--the hammering with the texture sheets then softens that out a bit.

I layered these hearts using rivets (actually, copper tacks from the hardware store!), and then created a loop by attaching a wire figure-8 with the rivet. (I learned that from a Sharilyn Miller DVD, Ethnic Style Jewelry--lots of handy stuff!)

On a couple of them, I only used one rivet to attach both the second heart and the figure-8; on the big one, I used two rivets to attach them separately.

The smallest heart I will use as a bracelet charm--I'm always a little frustrated using one-sided charms on bracelets, because with the way bracelets move around, you see the wrong side of the charm as often as you see the front. I wanted to make double-sided charms, but you can't really do that with a single sheet and the texture sheet/hammering method, because hammering the second side takes the texture out of the first side. So I thought I would just use two separate hearts, attached with a rivet, with the figure-8 loop in between. (And now I like that "3-D" look so much, I wish I had put the figure-8 in the middle with the other two too. I think I may do that from now on.)
I also textured and antiqued some copper strips to turn my copper flowers into clasps or usable components. I just have to rivet the strips to the flowers now, and decide how to configure them.

Then I have to use them in something. That's the hard part! I'm thinking of opening a second shop for components--then YOU would have to figure out what to do with them. :-)

Friday, May 21, 2010

I Dub Thee, Lynda, the Queen of Fauxtiquities


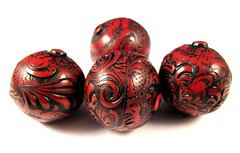
I was cruising around on Flickr, and discovered an artist who makes the most astounding beads and focals from polymer clay--looks like she robbed an archeological site of its most luminous treasures! Everybody, meet Lynda of Diva Designs.

I just fell in love with her focals in particular, and found myself often oohing and aahing over her things on Flickr.  In a fit of wonderment over the pendant focal below, I fervently declared her the Queen of Fauxtiquities:


Look at the HIEROGLYPHICS on there!!!  I adore hieroglyphics.

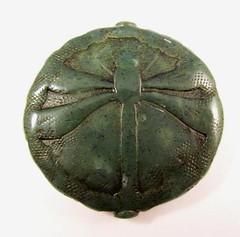
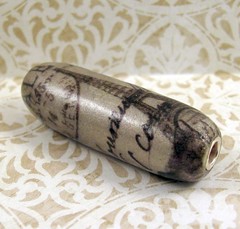
She was so thrilled with this moniker (which I confess I didn't think up myself--rather I had heard it elsewhere and appropriately appended it to her) that she offered me one of her beads as a thank you!! Well I just about DIED.  Of course I wanted the dragonfly one above but it was sold.  DAMMIT.  So I went "shopping" on her Flickr site.  Well, in addition to the stamped/embossed styles above, she has a whole line of image transfer beads and focals.  I decided to go with something that would force me to design something I wouldn't normally do.  I chose the one below:


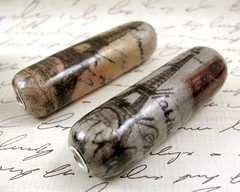
It also has a spot of lovely brick red on it (it's on the right in this photo, pictured with one of its fellows):


I got it the other day in the mail from Lynda and have been fondling it regularly ever since.  Mine mine MINE!!! Love the silver eyelet detail at either end.  I have a design in my mind for it and hope to get to it this weekend.

There is so much fabulousness in her Flickr stream, I can't fit it all here. But I'm sure as heck going to try. Look at this:


And this:

And this:

And this!
I could go on and on:
And on:

Phew! And there's lots more!!! But I'll stop now before I become slavishly fawning, or before I reach my Blogger photo limit.

I highly encourage you to check out Lynda's Flickr photostream, stop by her blog, and visit her Etsy shop. Her designs are a feast for the eyes! She even has tutorials for sale in her Etsy shop on how to create your own image transfer components with polymer clay.

Have fun!!