
 |
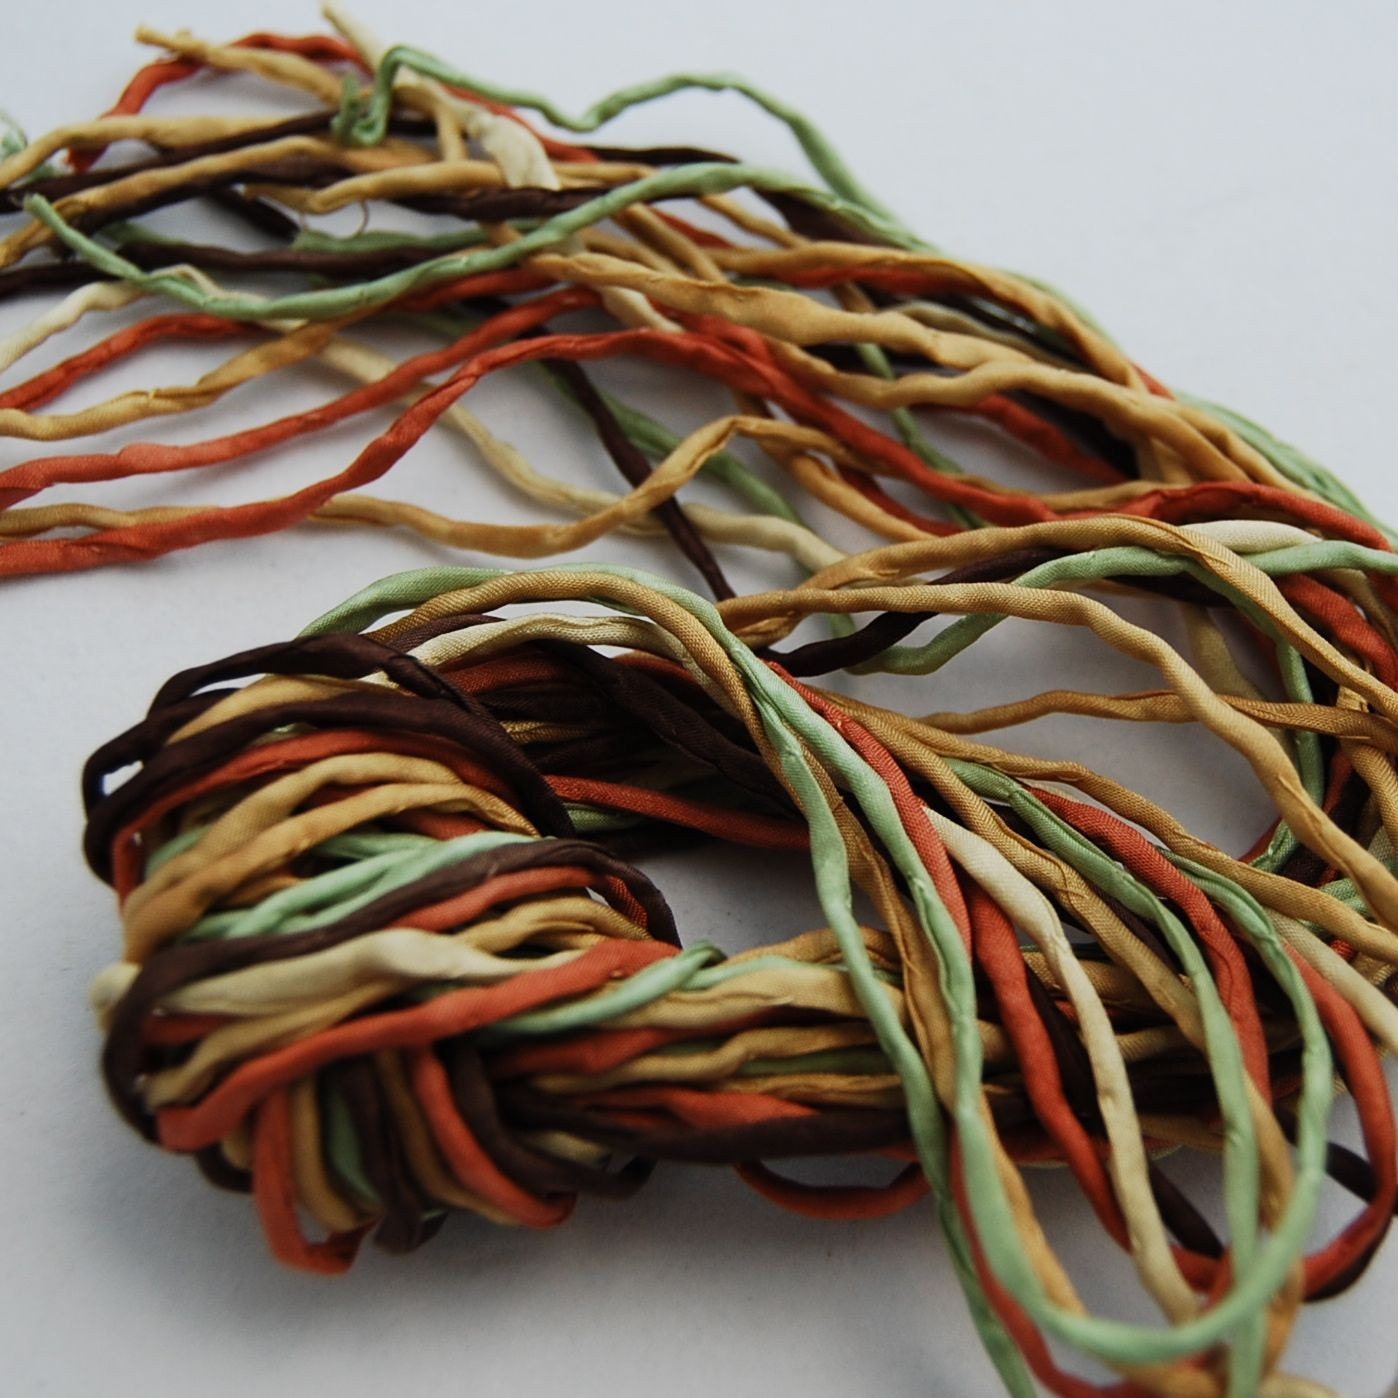
| "Woodland Realm" Silk String Bundle from Marsha Neal Studio |
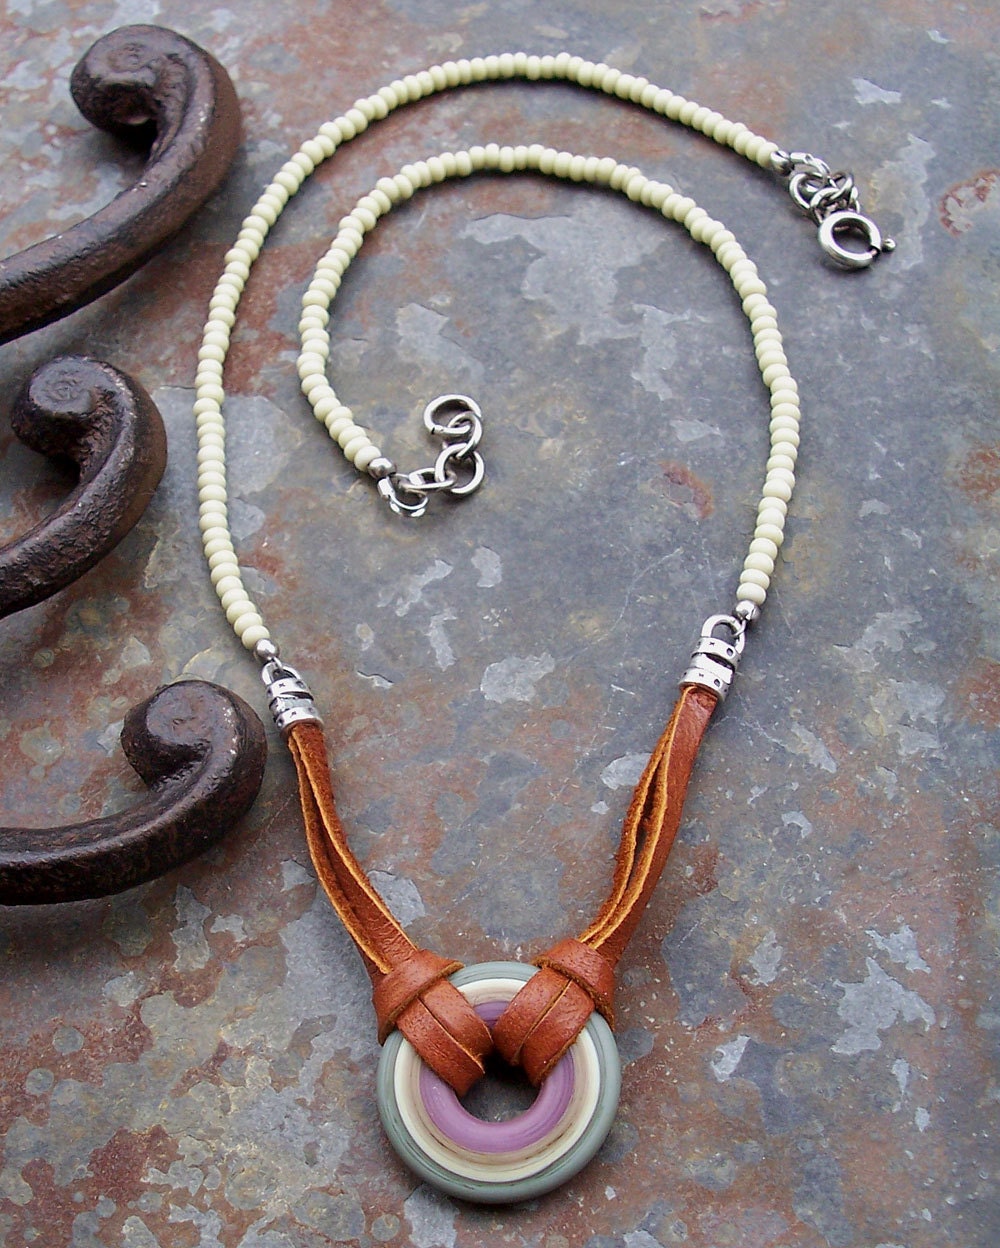
The first piece I ever sold on Etsy had 2mm Greek leather on it, and I faked up some coil ends on it--I had bought some simple, cheapie ones at the craft store and was trying to copy them. The only think I could think to do was wrap the wire around the ends of the leather and make a loop at the end, but it was really frustrating because the leather was kind of floppy.
 |
| Ca. March 2005 |
Later I discovered commercial crimp ends for sale, and used those on a few pieces.
 |
| From Cool Tools PMC supply |
 |
| With silver plated pewter crimp ends from Fusion Beads |

They look like this when they're attached and tightened up:


I like to use 16 gauge wire, as I prefer a chunky, substantial look (and I'm a little paranoid about things coming apart--I also add some adhesive, like GS Hypo Cement or PlioBond--Hypo Cement is clear so probably a little easier to use, PlioBond is more amber colored), and this gauge seems to work for most of what I do. The 16 gauge is not so heavy that it's hard to work with, and I can get the coils down to about 4mm inner diameter, which is the lower limit for most of what I do. If you wanted to do something with just, say, one strand of 2mm Greek leather, you could go down to 18 gauge and get a smaller coil that would still be sturdy enough. (You can always anneal too, if your hands are worn out and need a little extra help--some days the elbow grease just isn't there!)
For a 5mm (inner diameter) coil, I use the base of my round nose pliers.

Leaving the wire on the spool (you won't cut it until you're totally done), make a coil with three or four courses around. When you actually tighten it up around your cording the whole thing is going to get skinnier and longer and you'll end up with a couple extra courses around. (The longer the finished coil is, the greater the surface area you will have grabbing onto your cording and the more secure it will be.)

When you've got your coil completed, you'll need to bend the free end of the wire up to create the loop. I pull up on the free end a bit to create some space for me to slip my bent nose pliers in there:

Then I slide the tip of my bent nose pliers under there, and bend it straight up.

You can use the pliers as necessary to sharpen the bend a bit. (Again, anneal if you need to--the process of tightening it later will work harden it plenty so it won't open up on you.) Squeeze it together a bit again.

After you have your 90 degree angle, it's time to make your loop. I just pop my round nose pliers under there again, near the base, and just bend the wire right over the top.


Nip it off with your flush cutters just about even with the top rim.

Tuck the end just inside the edge of the coil, and hammer it a bit to strengthen it and give it a finished look. (Hammering is optional, I just like to hammer things.)


You might have to trim your loop a bit after hammering it, because that tends to make it a little longer. Once you have a feel for that you can trim it a little shorter right off the bat, so that hammering it will make it just the right length.

Make sure the loop goes straight over the top, transecting the coil right across the middle. Adjust as necessary with your pliers.

Of course, you can make these any size you like. I just eyeball the cording I'm using and guesstimate what inner diameter I need. It's totally fudge-able because you're going to squeeze it down tight anyway. That said, it's nice to get it as close to the right diameter as possible, because squeezing an oversized coil down is a pain in the butt. You can do it, but it's a lot more work, and of course the more you squeeze it, the tougher the wire gets and once your cording is in there you can't re-anneal.
Next time, we'll talk about actually putting it on your cording.
Great tutorial...thank you for sharing. I avoid leather and silk for this very reason!
ReplyDeleteThank you, thank you, thank you! I have always tried this and totally screwed it up. Can't wait for the next part.
ReplyDeleteGreat Idea Keirsten! Thanks for sharing and I look forward to the next part!
ReplyDeleteReally great directions and especially photos. Should be easier to use than another tut I've been trying to follow! Thanks
ReplyDeleteI detest the coil crimp ends they sell at craft stores. I've never had any luck with them. I'm going to try my hand at making them while I wait patiently for your "how to put them on cords" post. You make it look so simple!
ReplyDeleteI've been doing these for a while & your instructions & pictures are beautifully done, great job!
ReplyDeletePerfect!
ReplyDeleteGood and generous as ever.
Kiss and good day.
Excellent, thank you for that great tutorial
ReplyDeleteI've tried to do this before without success....but your instructions have me thinking I'll try it again! I can't wait to see how you crimp it down!
ReplyDeleteBrilliant! Thank you.
ReplyDeleteThanky you for this great tutorial, finally I had to figure it out by you how its easier;))) I am fighting since a long time with this "wire wrapping around leather"-Problem;O))
ReplyDeleteIt makes my life easier *lol*;)
lovely greetings
sabrina
Thank you for the great tutorial - I can't wait to try your method out. Looks great.
ReplyDeleteThank you for this tutorial. I am so intimidated with leather and fibers due to finishing them off. I love the look of your jewelry and I love the way you incorporate leather into your work.
ReplyDeleteThanks for the tutorial. Do you squeeze the whole coil? Or just the tail end. The coils look pretty round on your finished pieces.
ReplyDeleteYou really should do an e book on your wire work, you have talent.
I've always liked the way your cord ends look. I admit I've struggled with the same conundrum many times. I'm gonna give this a shot.
ReplyDeleteGreat tutorial! I've done something similar. So much easier than trying to wrap around the silly cord!
ReplyDeleteGreat photos, too.
I've thought about how to do this for a long time! The second step will be the key, and I'm looking forward to it. Thank you for sharing your expertise.
ReplyDeleteLinda Larsen shows this technique on her blog but your tutorial has a lot more details and photos. I love your idea of making several sizes up ahead of time so that they are ready to go. Wonderful tutorial.
ReplyDeleteGreat tutorial thank you. I have tried making them using knitting needles of various sizes. Works well.
ReplyDeleteWhat a great help this will be. Can't wait for part II.
ReplyDeleteThanks for sharing this, I'm always looking for ways to enhance my techniques.
ReplyDeleteGreat technique! I always wondered how you made your cord ends. I admire all of your jewelry, but especially your designs with leather, ribbon and cords. I have made my own cord ends, also. I coil my wire right on the leather like you mentioned in your post, but I have a little twist to the technique that makes it easier, I think. I've thought about doing a tutorial on how I make them several times. I contemplated putting it in our book, but alas, it didn't happen, so maybe I will do that tutorial after all. You've given me the motivation to think about it again!
ReplyDeleteI also use the crimp cords ends quite a bit, too. In my own experience, I know you do have to be pretty careful how and where you crimp them. I did a little tutorial on A Jewelry Accord last year: http://jewelryaccord.blogspot.com/2011/01/findings-friday-crimp-style-cord-ends.html
If you crimp down on that solder seam on the side, they will break. Also, I've noticed the cheapy base metal ones are more likely to break, too, so you want to buy the best quality ones you can find.
Oh you saved me some brain burn for sure. Thanks for the tutorial.
ReplyDeleteI finally have hope! I am starting to make golf score bead bracelets and golf score beads that look more jewelry-like. Typical coil ends are too small for the elastic cords I use. They have to be sturdy for all the pulling. Will try your technique as I've searched all over for large coil ends with loops and none have a 4mm or larger opening.
ReplyDeleteI just found your tutorial on Pinterest.
ReplyDeleteLove the details and pictures you provided.
Thank you!
Thank you so much Keirsten for the great Tutorial. I found you for the first time through "Beading Gems". Pearl isn't she a jewel:-). Joined your Blog and now on to visit your Etsy shop. I still love learning even at 67yrs. keeps my mind from ageing faster. Best to you!
ReplyDeleteFabulous Tutorial. Thank you :-)
ReplyDeleteHey, I came across your blog through beadinggem.com and I think this tutorial is providing good knowledge and techniques for DIY jewelry. This bracelet looks beautiful.
ReplyDeleteFantastic tutorial, thanks! I used my homemade crimp beads in a pair of peacock feather earrings! You can find them on my website :)
ReplyDeleteCan you tell me where I can see the tutorial for attaching coil to leather or cording?? Thanks, Sue
ReplyDeleteIt's the very next post after this one, dated April 17, 2012,
DeleteI am in the midst of a project and don't have the right sized cord ends to finish. So glad I found your tutorial on Pinterest. Thank You!
ReplyDeleteThanks for the tutorial
ReplyDeleteGlad to know I'm not the only perversely self-sufficient freak out there ;)
ReplyDeleteHi! Can you do a tutorial on how to apply the proper technique to close this coil around the leather cord? Im very interestesd, thank you.
ReplyDeleteI did one in the next post, as I mentioned in the post above. You can click on the link at the end of the post above, on the words "Next time," or you can go to the address below. It was my very next post, the next day.
Deletehttp://cerebraldilettante.blogspot.com/2012/04/using-coil-crimp-ends.html